
As Christmas draws near, a festive tree can light up your home’s holiday vibe. A Low Vision DIY Christmas Tree is not just a great decor choice but also a wonderful interactive project to strengthen family bonds, especially for households with low vision. Everyone with low vision can join every step of design and creation together, making a personalized tree filled with love and shared joy.
Compared to buying a store-bought Christmas tree, a Low Vision DIY Christmas Tree is more cost-effective and eco-friendly. Most importantly, it offers more chances for family creativity and interaction. With low-vision assistive technology like Zoomax Luna 6, even detailed tasks become easy to handle. Let’s compare DIY and store-bought trees first, then dive into a step-by-step guide to making your own unique Low Vision DIY Christmas Tree.
DIY vs. Store-Bought Christmas Trees: A Comparison
Dimension | DIY Christmas Tree | Store-Bought Christmas Tree |
Cost | 25–70 | 50–330 |
Time Commitment | 3–8 hours | 1–5 hours |
Eco-Friendliness | Uses eco-friendly materials, reduces plastic use | Real trees are biodegradable, artificial trees have a high carbon footprint |
Personalization | Highly customizable, completely unique design | Fixed appearance, less room for adjustments |
Meaning | Enhances family interaction and creates lasting memories | Saves time, quickly brings festive vibes |
Why Choose a Low Vision DIY Christmas Tree?
As the table shows, the biggest advantages of a Low Vision DIY Christmas Tree lie in its high customization and family bonding value. You can tailor the design to your preferences, and the crafting process helps family members connect deeply. For people with low vision, making this DIY tree is empowering—it boosts their engagement and motor skills.
A Low Vision DIY Christmas Tree usually needs 2-3 people and 3-8 hours to finish, depending on design complexity and available materials. Low-vision assistive tools like Zoomax Luna 6 can simplify the process further, letting users handle every detail easily. Let’s start the step-by-step making process.
Step 1: Set Goals and Design for Your Tree
Before crafting, planning the tree’s style and size is key to a smooth process.
Determine the Goal
- Size: Pick a height based on your space, ideally 3 to 5 feet for easy use and visibility.
- Style: Decide the overall look—rustic, minimalist, or classic holiday-themed.
Choose the Trunk Structure
- Thick Tree Trunk: If you have access to a sturdy trunk (from legal sources or garden cuttings), it works as a strong natural base.
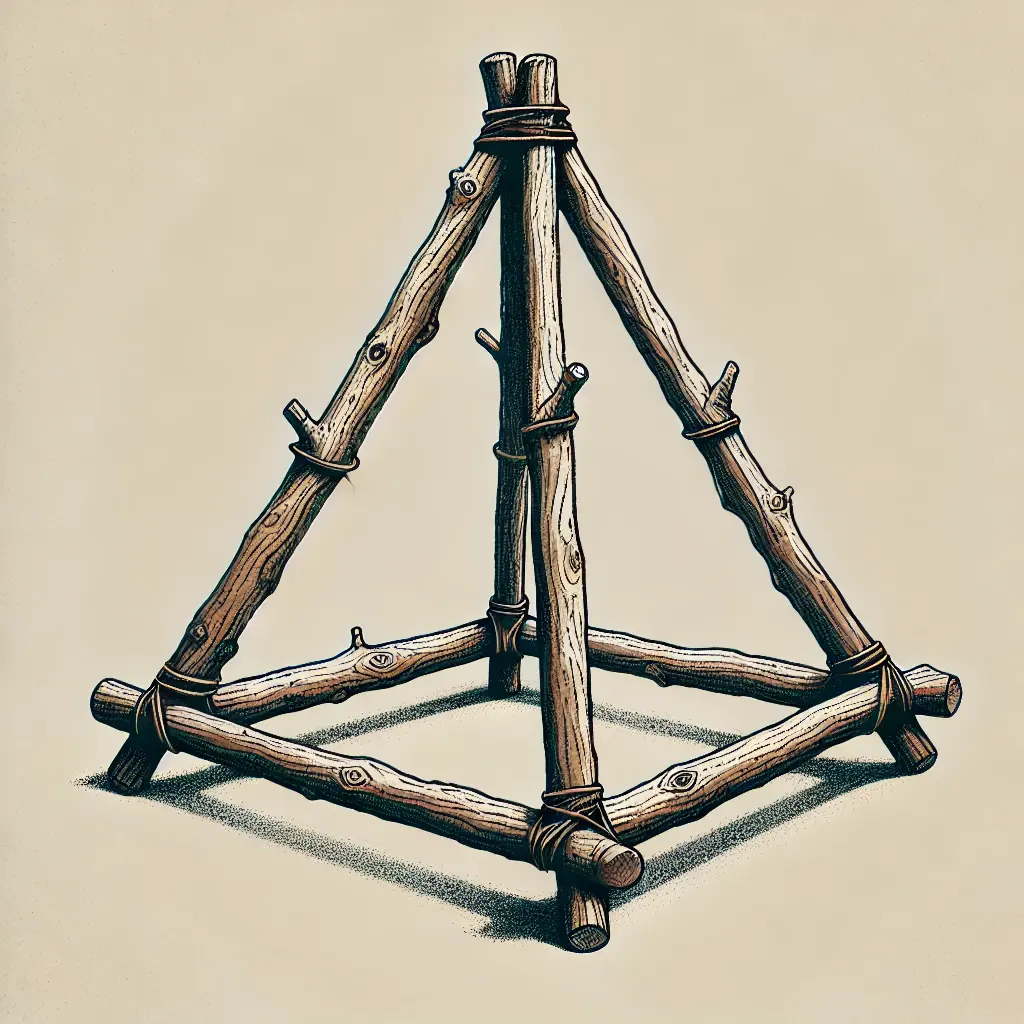
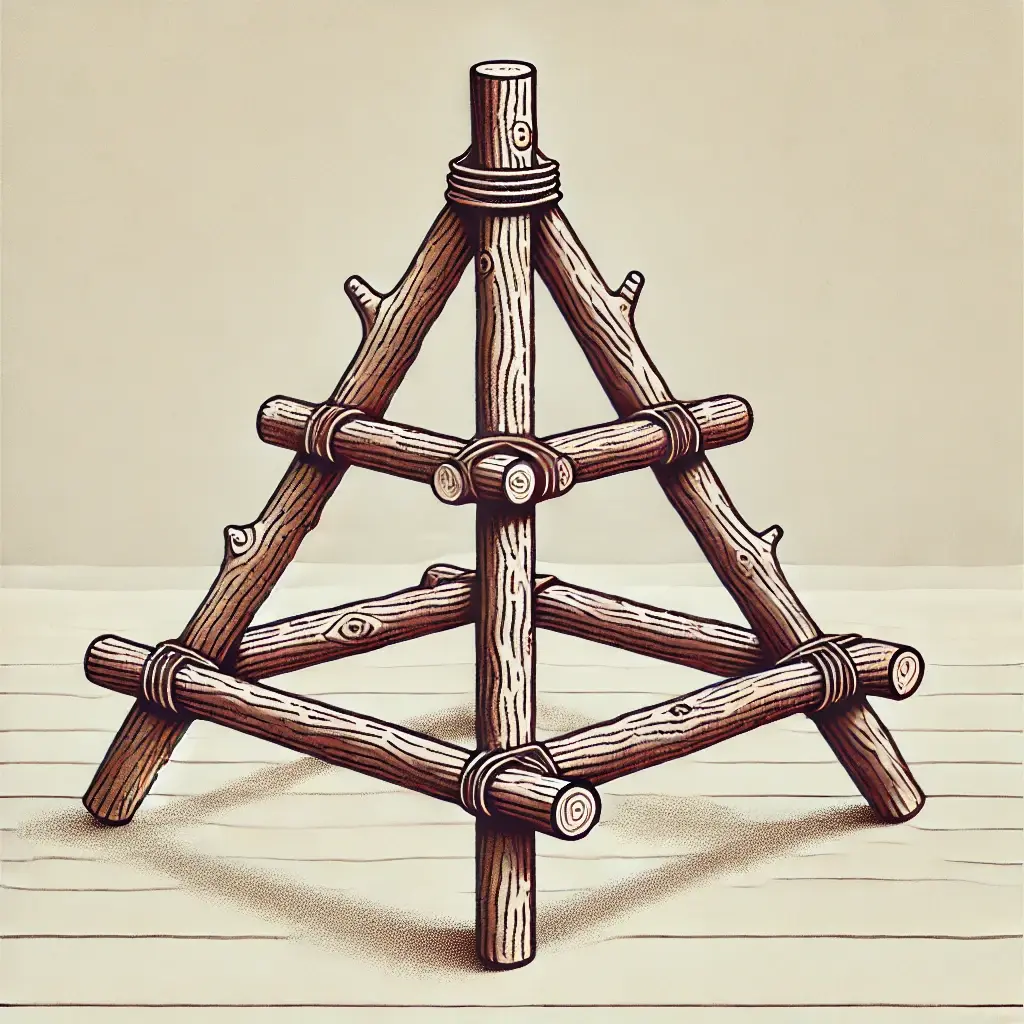
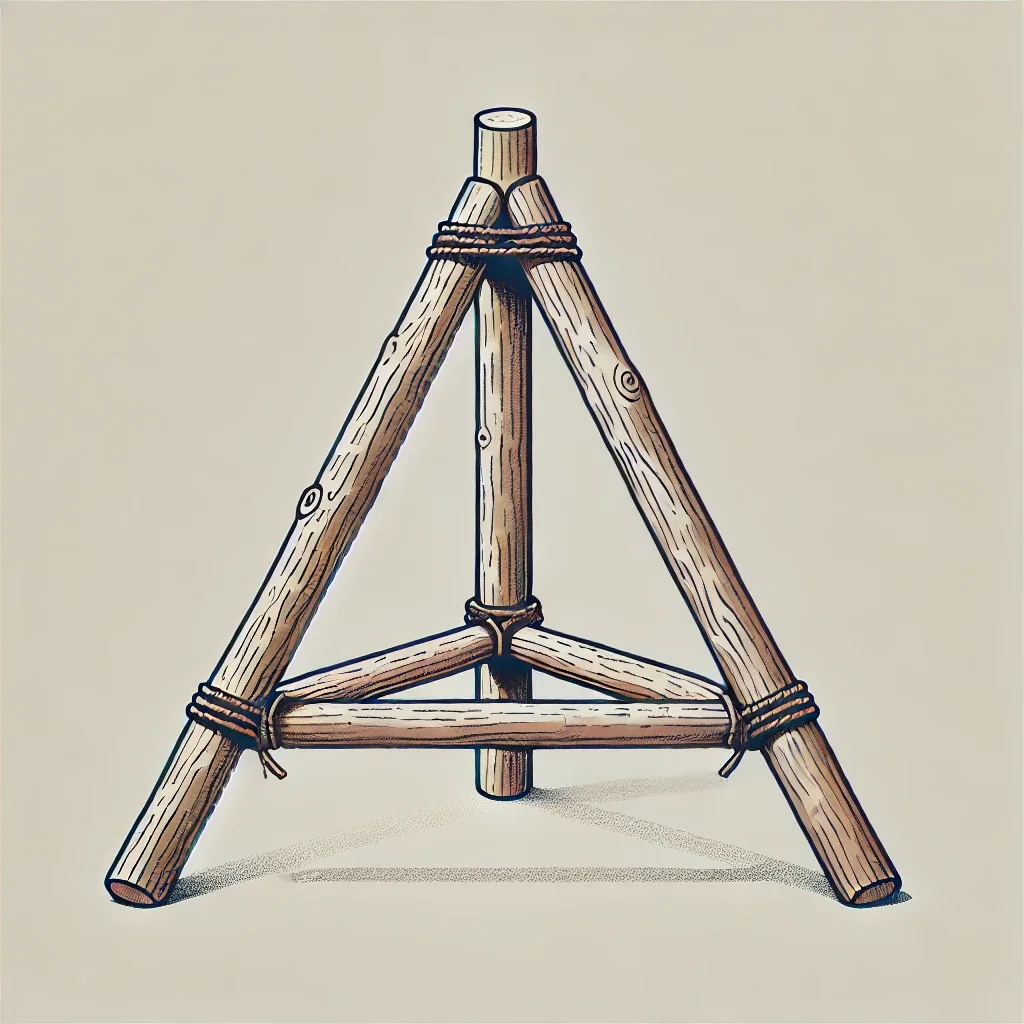
- Support Frame: Without a natural trunk, build a frame with wood. Use a three-legged or four-legged structure to make a single-layer or multi-layered base. Once the frame is shaped, add outer branches and decorations later.
Select Branches
- Natural Branches: Use branches from Abies alba, fir, spruce, pine, or cypress to mimic a traditional Christmas tree.
- Artificial Branches: If natural branches are unavailable, use plastic faux branches. Glue or attach them to the trunk firmly.
- Attachment Options: Drill small holes in the trunk (if sturdy enough) and insert branches for a more authentic look.
 Design the Layout
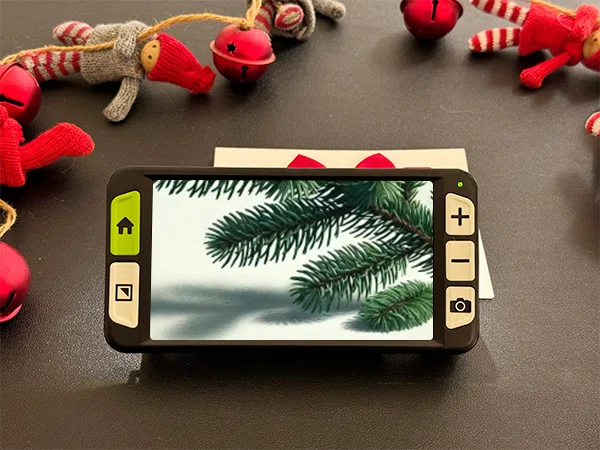
- Draw a rough sketch of your tree. Use tools like Zoomax Luna 6 to magnify plan details, helping people with low vision understand the design better.
- Family members can describe the design simply to keep everyone on the same page.
Step 2: Gather Materials
1. Essential Supplies
- Tree Base and Branches: Collect outdoor branches or buy a wooden frame for a modern style.
- Decorations: String lights, bells, Christmas ornaments, ribbons, and a tree topper.
- Tools: Twine, wire, glue, scissors, a sturdy wooden base. A drill is needed if inserting branches into the trunk.
2. Where to Find Materials
Outdoor Collection

- Visit nearby parks or gardens to gather suitable branches, pinecones, or leaves.
- Check branches for smoothness and clean off debris.
Online Shopping
- If outdoor collection isn’t possible, shop online for pre-cut wooden frames and decorations. Use Zoomax Luna 6 to read product descriptions and compare designs for the best choice.
Step 3: Build the Tree Framework
1. Prepare the Base and Branches
- Sort Branches: Arrange branches by length from longest to shortest.
- Inspect and Clean: Check each branch closely, removing rough spots or irregularities.
- Secure the Base: Use the longest branch or a sturdy wooden rod as the trunk. Fix it to the base with wire or glue.
2. Assemble the Tree Structure
- Layer Branches: Start from the bottom, attach longest branches horizontally to the trunk. Add shorter branches as you move upward.
- Ensure even spacing and symmetrical alignment for a neat look.
- Shape the Tree: Trim excess branch length to create a clean triangular silhouette.
Step 4: Decorate Your Tree
1. String the Lights
- Start at the top, wrap string lights around the tree in a spiral pattern. Keep spacing even.
- Use Zoomax Luna 6 to check light connections and ensure they’re securely attached.
2. Add Ornaments
- Place bells, Christmas balls, and other ornaments across the tree. Balance colors and sizes for harmony.
- Use Zoomax Luna 6 to check hooks and attachment points for safety and stability.
3. Place the Topper
- Secure a star or decorative topper on the tree’s top. Make sure it’s straight and firm.
- Zoomax Luna 6 can magnify the connection area, making this step easier for those with low vision.
Step 5: Enjoy the DIY Experience
1. Empowerment for Low Vision Users
Zoomax Luna 6 helps people with low vision take part confidently in every step—from gathering materials to adding final touches. It makes the process fully inclusive.
2. Strengthen Family Bonds
Crafting a Low Vision DIY Christmas Tree is collaborative. Everyone contributes in their own way, bringing families closer and creating sweet shared moments.
3. Promote Sustainability
Using natural or reusable materials makes the tree eco-friendly, matching modern sustainable living habits.
Conclusion: Brighten Holidays with a Low Vision DIY Christmas Tree
Making your own Christmas tree is more than just decorating—it’s about cherishing shared memories and joy from working together. With tools like Zoomax Luna 6, the process becomes more inclusive. No matter vision ability, everyone can join the holiday magic. This Christmas, gather your family, embrace creativity, and make a Low Vision DIY Christmas Tree that shows your love, personality, and festive spirit.
Frequently Asked Questions (FAQs)
What materials are needed to make a DIY Christmas tree?
You’ll need tree trunk/branches (natural like spruce, fir or artificial faux branches), decorations (string lights, bells, ornaments, ribbons, topper), and tools (twine, wire, glue, scissors, sturdy base, drill if needed).
What are the alternatives if natural branches are not available?
Opt for artificial plastic branches (bought online) that look natural. Or build a wooden frame and attach faux leaves/branches with glue or wire.
How can I ensure the stability of the DIY Christmas tree?
Focus on the trunk and base: Choose a thick, sturdy natural trunk and fix it firmly to the base. For frames, reinforce all connections with wire or screws. Insert branches into drilled trunk holes or glue them tightly to the frame.
Recommended Reading on Christmas Themes:
https://zoomax.com/low-vision-information/christmas-2025-holiday-celebration-guide/